Documentation: Basic Migration
In this tutorial we will be migrating a WordPress site from the fictitious site http://source.com to http://destination.com.
- Navigate to your Dashboard.
- Select + New Migration from the left menu.
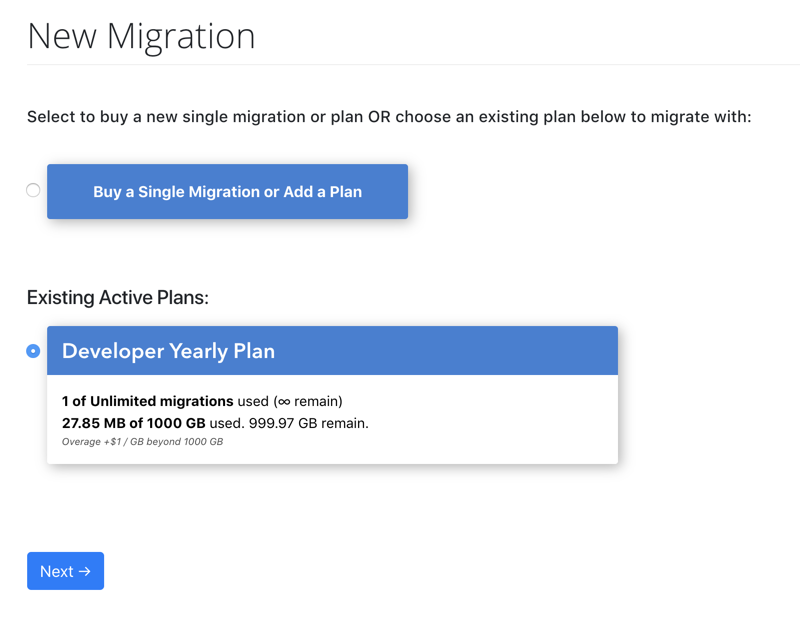
- Select to buy a new single migration or plan OR choose an existing plan you already own (if any).
If selecting a new single migration you will be prompted to provide your billing details just before the final step to launch the migration.
If selecting a new plan you will be prompted to provide your billing details on the next page before proceeding to the migration settings.
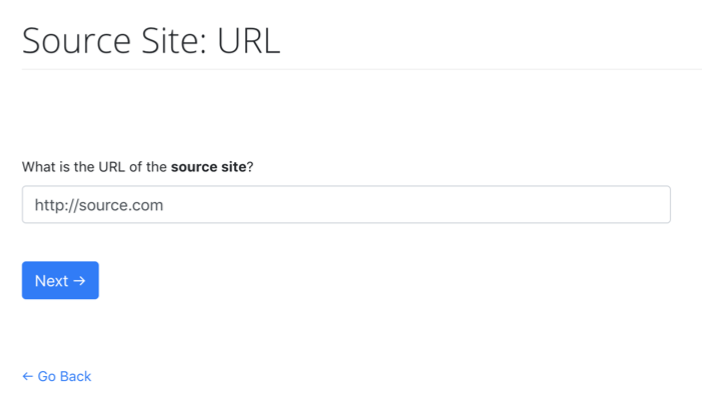
- Enter the Source Site URL. This is the address to the existing website you want to move elsewhere.
-
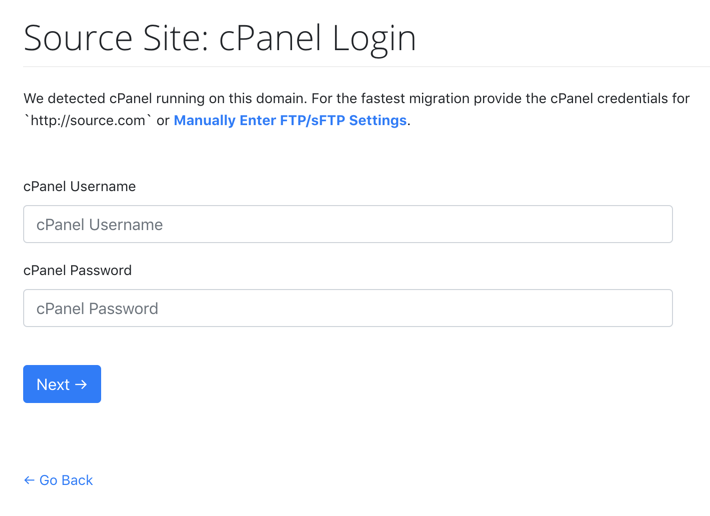
If cPanel is detected running at this URL you will be prompted for your cPanel credentials.
If you provide these then we will automatically handle setting up everything needed for the migration
such as a temporary FTP account. You can also select to manually enter FTP/sFTP settings if you like.
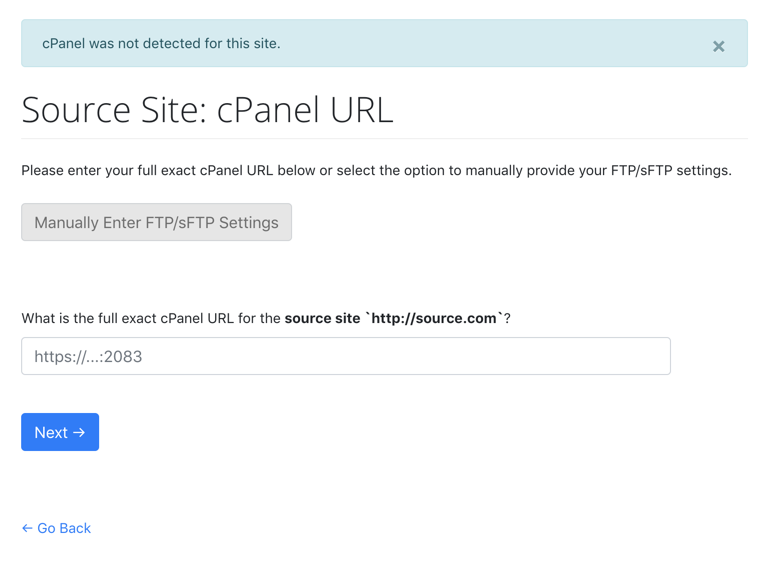
If cPanel is not detected then you will be prompted to enter the full cPanel URL. If you do not have or do not wish to use cPanel click the "Manually enter FTP/sFTP Settings" button to manually provide settings.
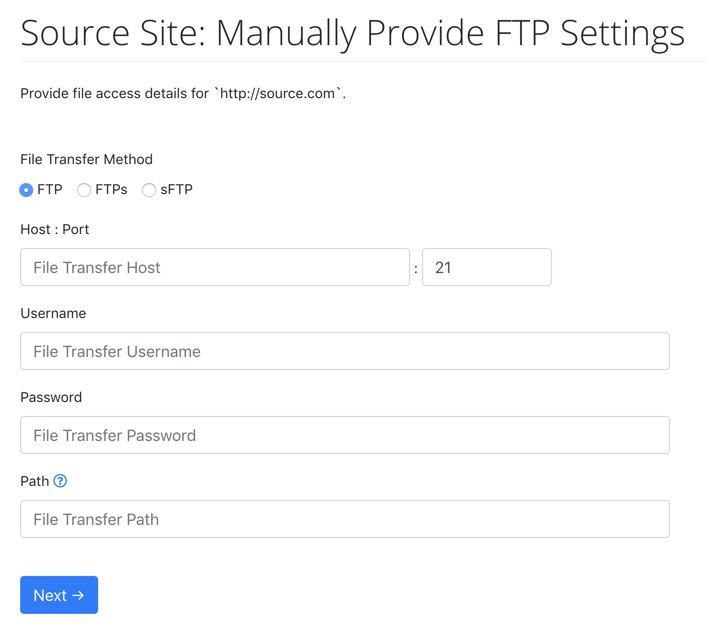
If entering manual settings you will be prompted to select your desired file transfer method and for the credentials to connect to it. You will also need to enter the FTP path (relative to the FTP home directory). An easy way to determine the path is to connect to your site's FTP account with an FTP client, navigate to the site directory, and note the path shown in the FTP client. You will then be prompted for manual entry of the database settings.
cPanel detected:
cPanel not detected:
Manual file settings entry:
- You will now be prompted for everything in the above steps except for the Destination Site. This is the new address of the site you are moving to. A site should not already exist in this location.
-
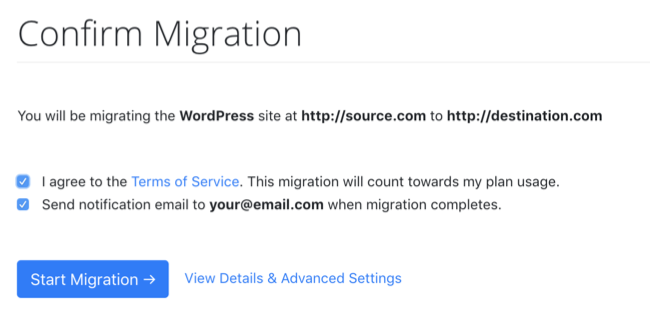
To launch the migration you will need to check the box to Accept the Terms of Service and agree to any applicable charges.
If you'd like to modify any advanced settings such as file or database exclusions, or only transferring files and/or the database select View Details & Advanced Settings.
To start the migration click Start Migration.
-
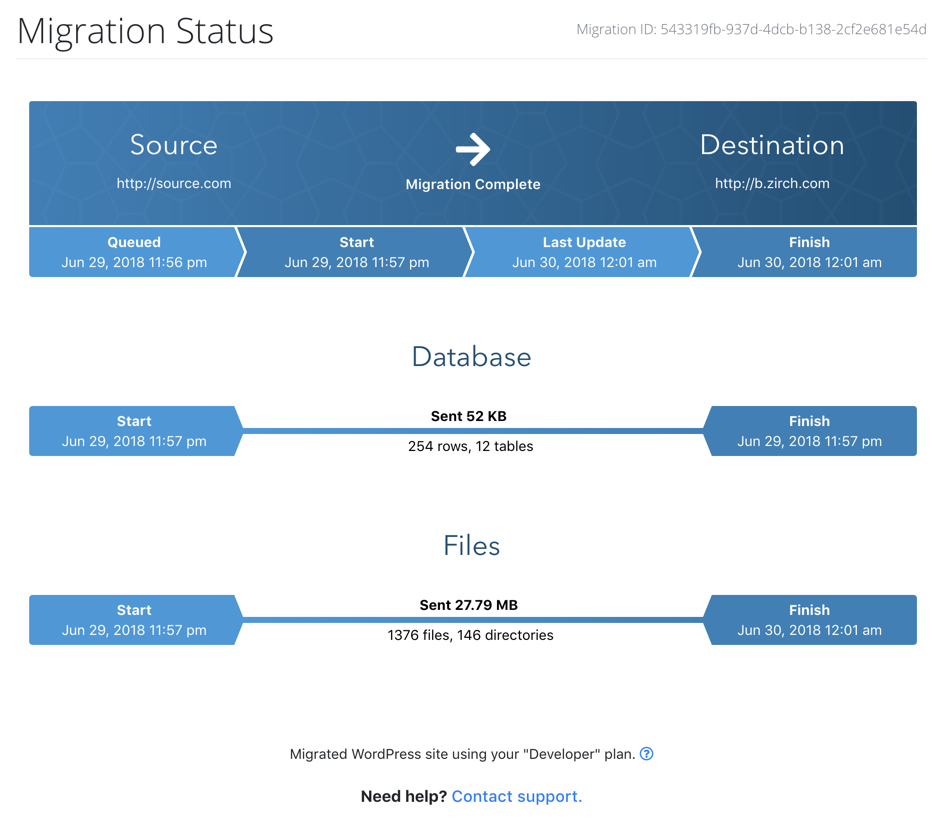
The migration will now begin. You will be shown the progress of the migration including times, number and size of files sent, and number and size of database content migrated.
The migration status will continue to update every few seconds until the migration has fully completed. You may safely leave this page and view it later by choosing the Migration History
link from the left menu.